


Safety Training Seminars

Achieve BLS certification confidently with Safety Training Seminars’ comprehensive guide. Packed with CPR techniques, emergency response strategies, and proven exam tips, this guide helps healthcare providers master essential skills and pass the BLS test quickly, ensuring readiness for both exams and real-life patient care.
Basic Life Support (BLS) training is the foundation for saving lives after cardiac arrest. You are likely here because you need to pass your American Heart Association (AHA) written exam and skills test. You want to feel confident when you walk into the classroom. You want to know exactly what to study.
This guide covers everything you need to know. We break down the critical concepts of CPR, AED use, and relieving choking for adults, children, and infants. We also explore the specific numbers and ratios you must memorize to earn your certification.
At Safety Training Seminars, we see thousands of students every year. We know where people get stuck. We know which questions are tricky. We created this comprehensive guide to help you master the material and walk away with your BLS card the same day.
Cardiac arrest happens when the heart suddenly stops beating. It can happen to anyone at any time. The American Heart Association states that more than 350,000 out-of-hospital cardiac arrests occur in the United States annually.
The survival statistics are sobering. According to recent data from the Cardiac Arrest Registry to Enhance Survival (CARES), the overall survival rate to hospital discharge is roughly 10% nationally. However, there is good news. When a bystander performs CPR immediately, a victim’s chance of survival can double or even triple.
Local data highlights the urgent need for trained responders. In San Francisco, for example, emergency medical services responded to 736 out-of-hospital cardiac arrest events in 2023 alone. The bystander CPR rate in the city was approximately 27.2%. This means that in nearly three out of four cases, no one performed CPR before an ambulance arrived.
We can change those numbers. When you learn high-quality CPR, you become part of the solution. You become the person who steps up when seconds count. This certification is not just a job requirement. It is a tool that protects your community, your colleagues, and your family.
The American Heart Association uses the “Chain of Survival” to describe the critical steps needed to save a life. You will likely see questions about these chains on your written test. There are two distinct chains: one for In-Hospital Cardiac Arrest (IHCA) and one for Out-of-Hospital Cardiac Arrest (OHCA).
You must push fast. The correct rate is 100 to 120 compressions per minute. This is the same for all ages (adults, children, and infants). A rate slower than 100 does not generate enough blood flow. A rate faster than 120 does not allow the heart to refill with blood between pumps.
You must push hard. For an adult, compress the chest at least 2 inches (5 cm) but no more than 2.4 inches (6 cm). Compressions deeper than 2.4 inches can cause internal injuries. Compressions shallower than 2 inches may not circulate blood effectively to the brain.
The ratio of compressions to breaths is vital.
For a child, compress the chest at least one-third the depth of the chest, or about 2 inches (5 cm). You can use one or two hands, depending on the size of the child and your own physical strength. The goal is to achieve the correct depth.
This is the most common area where students make mistakes on the test.
If you are alone and witness a child collapse suddenly, call 911 and get an AED first. The cause is likely a heart issue.
If you find a child collapsed and did not see it happen, perform CPR for 2 minutes (5 cycles) before leaving to call 911. The cause is likely respiratory (choking or drowning), and immediate CPR provides the oxygen they critically need.
Do not check the carotid (neck) pulse on an infant. Their necks are too short and chubby. Instead, check the brachial pulse. This is located on the inside of the upper arm, between the elbow and the shoulder.
The ratios follow the child protocol.
When giving breaths to an infant, cover both their mouth and nose with your mouth. Use just enough air to make the chest rise. Plowing too much air into an infant’s lungs can cause damage.
For adults and children aged 8 and older, use adult pads. Place one pad on the upper right chest (below the collarbone) and the other on the lower left chest (below the armpit).
For infants and children under 8, use pediatric pads if available. If not, use adult pads. Ensure the pads do not touch each other. If the chest is small, place one pad on the center of the chest and the other on the center of the back (anterior-posterior placement).
Opening the airway is essential for effective breaths. The most common method is the head-tilt/chin-lift maneuver. Place one hand on the forehead and push back while using the fingers of the other hand to lift the chin.
If you suspect a neck injury, use the jaw-thrust maneuver. Place your fingers behind the angles of the lower jaw and lift it forward without tilting the head.
In a two-rescuer scenario, one person performs compressions while the other handles the airway using a bag-mask device. This is more effective than mouth-to-mouth.
Use the E-C clamp technique to hold the mask. Make a “C” shape with your thumb and index finger to hold the mask down. Make an “E” shape with your remaining three fingers to lift the jaw into the mask.
If a victim has a pulse but is not breathing normally, you perform rescue breathing (no compressions).
Perform abdominal thrusts (the Heimlich maneuver). Stand behind the victim. Wrap your arms around their waist. Make a fist with one hand and place the thumb side against the abdomen, slightly above the navel. Grasp your fist with the other hand and press into the abdomen with quick, upward thrusts. Repeat until the object comes out or the victim becomes unconscious.
If the victim is pregnant or obese, use chest thrusts instead of abdominal thrusts.
If the choking victim passes out, lower them to the ground and start CPR.
Crucial Step: Every time you open the airway to give breaths, look inside the mouth. If you see the object, pluck it out. If you do not see it, do not perform a blind finger sweep. Just give the breaths and continue compressions.
Do not use abdominal thrusts on infants. Instead, use back slaps and chest thrusts.
When the Team Leader gives an order, the team member should confirm it.
If you see a team member making a mistake, correct them immediately but respectfully.
With the opioid crisis prevalent, BLS providers must know how to respond to an overdose. Opioids (like heroin, fentanyl, and morphine) can cause breathing to stop.
If you suspect an opioid overdose:
AHA questions can be tricky. Look for keywords like “BEST,” “FIRST,” and “NOT.”
The written test is only half the battle. You also need to prove you can perform the skills physically. This is where we come in. When you book a class with us at Safety Training Seminars, we ensure your skills session is stress-free, efficient, and educational.
We utilize a blended learning format. This means you complete the cognitive portion (the videos and the written test) online at your own pace. This is perfect for busy healthcare professionals. Once you finish the online part, you come to one of our offices for the hands-on skills check.
During the skills session at our locations, you will demonstrate:
We use Voice-Assisted Manikins (VAMs) and digital feedback devices. These tools tell you instantly if you are pushing deep enough or fast enough. It takes the guesswork out of the test. You will know exactly how you are performing in real-time.
Our instructors are there to help you succeed, not to fail you. If your depth is a little off, we guide you to correct it. We issue your official American Heart Association BLS card the very same day. No waiting for it to arrive in the mail.
You might wonder why you have to retake this course every two years. Research shows that CPR skills degrade significantly over time. A study published in the journal Resuscitation found that the quality of CPR skills declines as early as three months after training.
By the time two years have passed, muscle memory fades. Guidelines also change. The American Heart Association updates its guidelines every five years based on the latest science. Renewal courses ensure you are using the most current, effective techniques to save lives.
When you train with us, we make the renewal process seamless. We have over 70 locations across California, including San Francisco, San Jose, Sacramento, and Oakland. We offer classes every day of the week, including weekends and evenings. We know your schedule is busy, so we make it easy to find a time that works for you.
Passing your BLS exam is about more than memorizing numbers. It is about being prepared to act when someone needs you most. It is about confidence.
We hope this study guide has clarified the tough concepts and prepared you for your test. But reading is only the first step. You need to get your hands on a manikin and prove your skills.
We invite you to join us at Safety Training Seminars. We are a woman-owned business committed to providing the lowest prices and the best training experience in California. With our daily classes, same-day certification cards, and friendly instructors, we make getting certified the easiest part of your job.
Don’t wait until your card expires. Check our schedule, find a location near you, and book your skills session today. Let’s save lives together.
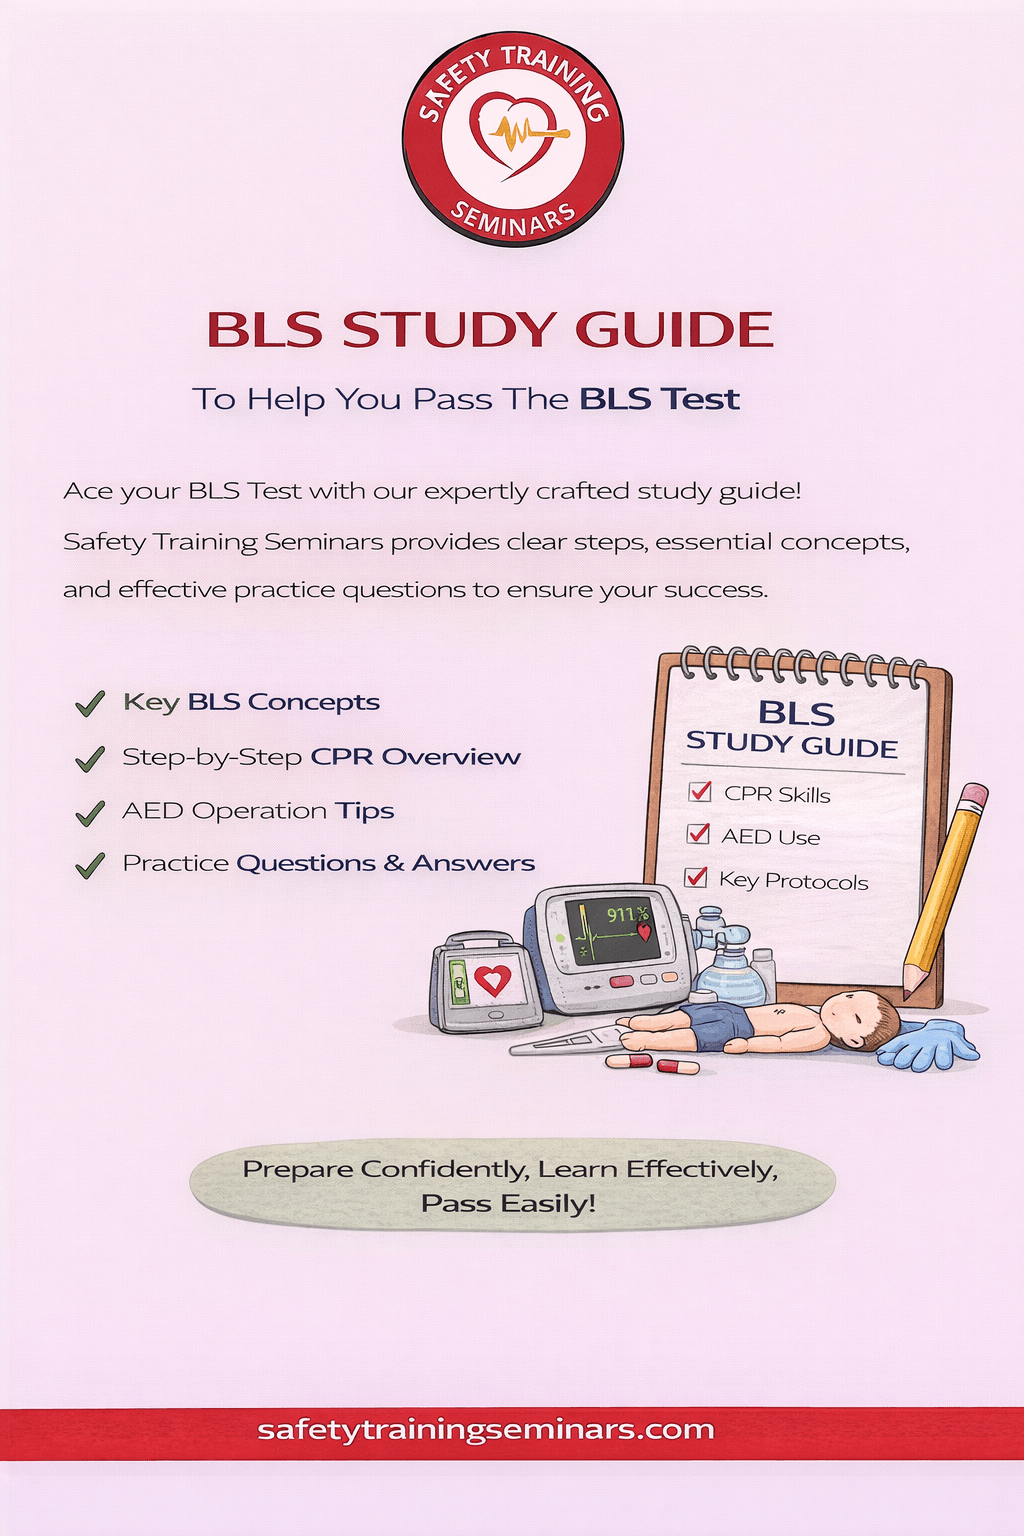
Preparing for your Basic Life Support (BLS) certification can be challenging, but with the right guidance, passing the test becomes significantly easier. Our BLS Study Guide infographic is designed to break down the most essential topics into clear, easy-to-understand visuals. From recognizing cardiac arrest signs to performing high-quality chest compressions, this guide provides step-by-step instructions that make learning practical skills intuitive. By presenting information visually, complex procedures such as ventilation techniques, CPR ratios, and automated external defibrillator (AED) usage become more memorable, helping learners retain critical knowledge for real-life emergencies.
The infographic highlights key areas often emphasized in the BLS exam, including patient assessment, proper hand placement, compression depth, and rescue breathing techniques. It also addresses the latest American Heart Association (AHA) BLS guidelines, ensuring that candidates study current, evidence-based practices. Each section of the guide includes concise tips, common mistakes to avoid, and quick reminders for test day, making it an indispensable tool for both first-time test-takers and those renewing their certification. The visual flow ensures learners can easily follow procedures from initial patient evaluation to successful resuscitation, reinforcing confidence and competence.
Using our BLS Study Guide infographic alongside hands-on practice maximizes your chances of success. By integrating visual learning with practical application, this resource equips you to excel in both the written and practical components of the BLS test. Whether you are a healthcare professional, first responder, or safety-conscious individual.
A BLS study guide covers core life-saving skills such as adult, child, and infant CPR, AED use, choking relief, and team-based resuscitation. It also explains updated American Heart Association guidelines. Safety Training Seminars structures its BLS study guide to help students pass the exam and perform confidently in real emergencies.
Healthcare professionals, first responders, nurses, medical students, and allied health workers should use a BLS study guide before certification. Reviewing key concepts improves exam success and ensures readiness to respond quickly and correctly during cardiac or respiratory emergencies.
A BLS study guide reinforces CPR steps, compression rates, ventilation techniques, and AED protocols. It helps learners understand scenario-based questions and reduces test anxiety. Safety Training Seminars aligns its study materials with AHA standards to ensure exam accuracy.
High-quality chest compressions, early AED use, proper ventilation, and rapid scene assessment are the most critical BLS skills. Team communication and role clarity are also emphasized. Mastering these areas significantly improves both test performance and patient survival.
Safety Training Seminars provides clear, AHA-aligned BLS study resources combined with hands-on instruction. Their approach helps students understand concepts, retain information, and apply skills effectively in real-world emergencies and certification exams.